Sunday, November 20, 2016

Bookmark and Share

2016 Rockies Trip - Selected 70


Moraine Lake - Gallery: 2016 Rockies Trip - Selected 70

In September, I went on a road trip with my dad and Franziska. We traveled through the Kootenays, then the Rockies up through Banff and Jasper National Parks, up to Prince George and down to Wells and Barkerville, then back home via the Fraser Canyon. These are 70 selected images from the trip, some highlights of the many picturesque spots we visited.

Saturday, August 27, 2016

Bookmark and Share

Infrared with a modified Fujifilm X-E2


Gallery (30 images): Infrared modified Fujifilm X-E2

Over the years I've had several digital cameras dedicated to IR photography, first starting back in 2000 (if memory serves) with a Nikon Coolpix 800, then followed by an Olympus C4040 and then a Nikon Coolpix 5400. With those cameras, I used deep IR filters on otherwise stock cameras and shutter speeds were long enough in full sunlight, that I often had to use a tripod. I never used those cameras for colour photography since I felt that their image quality wasn't good enough, however with the IR grain and glow added in post, they seemed to mostly suffice for my B&W IR ambitions. Back then, I was shooting medium format transparency film with a Pentax 67II, my main camera at the time.

Then, after buying a Canon EOS-30D in 2006, I decided to have my very first digital SLR that I had bought in 2004, an EOS-20D, converted to a dedicated IR camera, letting LifePixel do the modification with a standard 720nm bandpass IR filter. I had that camera for many years, finally selling it when I started to use Panasonic Micro-4/3 bodies. In 2012, when I was shooting with a GH2, I decided to buy a Panasonic GF2 body and immediately had it converted to shoot IR (720nm as well), and used LifePixel once again. With a standard DSLR, one has to worry that IR light doesn't focus in the same plane as visible light, leading to focus errors when the visible light is used either by the DSLR's AF sensor, or by you if manually focusing via the camera's focusing screen. This is why many older lenses had an IR offset dot on their focusing scale, so you could manually shift the focus to compensate. Well, with a mirrorless camera like the GF2, the main image sensor is being used to focus, and since the IR filter is, of course, in front of the image sensor, you get perfectly accurate AF, as well as being able to see the IR effect through the EVF or back LCD screen. Overall, this made shooting IR much more pleasant and accurate compared to a modified DLSR!

Saturday, August 6, 2016

Bookmark and Share

Southwest 2016: Lime ruins, Danger Pt. and Succor Creek


Lime, OR - Abandoned Cement Plant Ruins (click for full gallery)

In mid-June, I was off on another road-trip to the US Southwest, as detailed in my previous blog post, where I talk about shooting with my new Fujifilm X-Pro2 and compared raw conversions from PhotoNinja with Lightroom.

The gallery above has images from the first two days of shooting, starting with the graffiti encrusted ruins of an abandoned concrete plant in Lime, Oregon. As with other recent trip galleries, there are GPS links on the thumbnails of each image (the globe icon at the top left of each slide), so you can see where the shot was taken, give or take a few dozen meters usually. On the first day of shooting, I accidentally had left my camera in JPEG only (was testing how many JPEG-only shots per card for a customer at work, just before I left) and didn't notice until the download to my laptop that evening... D'oh! Luckily the overcast shots generally presented only minimal dynamic range challenges so the JPEGs are fine. Quickly switched back to RAW+JPEG that evening after I noticed though!

The next day, a few hours were spent hiking around the fascinating rock formations near the Danger Point cliffs, south of Westfall, Oregon. Then it was off to find a camp site at the Succor Creek State Natural Area in southeast Oregon. These BLM lands are filled with some amazing rock formations, cliffs, canyons and even "painted desert" areas.

Click to see all the blog postings from my 2016 June Southwest Trip...

Saturday, July 23, 2016

Bookmark and Share

Southwest trip and X-Pro2 raw processing...


Lightning over White Sands, New Mexico

I am back from a three week road-trip to the Southwestern US. This time, it was a trip through Washington, Oregon, Idaho, Nevada, Utah, Colorado, New Mexico and back, for a total of 8,945 km of driving. The furthest south was White Sands, New Mexico, where the above photo was taken at dusk. Actually, the shot is looking towards White Sands from Oliver Lee State Park to the east.

Not only is this blog posting about sharing a few trip images, prior to getting some full galleries posted, but also to discuss X-Trans sensor raw conversions, specifically how the latest Adobe Lightroom CC compares to PhotoNinja with images from my Fujifilm X-Pro2. While Adobe has significantly improved their Fujifilm X-Trans raw processing, eliminating many of the original obvious drawbacks, such as badly smeared colour details, strange blurs and/or outlining along high colour-contrast edges and so on, there are still some weaknesses. One is that fine texture details with strong colour contrast still seem to lack definition (nowhere near as badly smeared as before though) and that detail in shadows, and not just ones that have been dramatically pulled up in post, often seems to look muddy and rather blurry. By the way, you can click on any of the shots in this posting to bring up a much larger version. Just click the back button in browser to return to the post after...

Also, if you just want to see images from the trip and don't care about raw processing, click to see all the blog postings from my 2016 June Southwest Trip...

Monday, May 23, 2016

Bookmark and Share

Vancouver Convention Centre - Private Fireworks...


I was informed of some private, special-event fireworks that were going to take place in front of the Vancouver Convention Centre, so after promising to keep it quiet and only tell a few close friends, I was given the date and time. I was lucky to have some nice evening light with a fading blue sky, wind to keep the area smoke free for the 10 minute show, and some darker clouds behind the fireworks for contrast. It was bright enough still that I couldn't do my usual long exposure blocking technique for photographing the fireworks, but the balanced light of the sky, the convention centre lights, and the fireworks of course, all made for some nice images in the end...

Sunday, May 8, 2016

Bookmark and Share

Fujifilm X-Pro2 Review


Gallery (110 images): Fujifilm X-Pro2 Review Gallery

May 8, 2016: This very long review is finally complete! Enjoy...

I have now had my own Fujifilm X-Pro2 for just over a month, and by and large, I absolutely love the camera. Above is a link to a random sampling of images I've shot since getting the X-Pro2. There is a lot that is new and improved in comparison to the older Fujifilm bodies like my X-E2 and I will attempt to cover the major improvements. While I have now shot quite a lot with the X-Pro2, what I still haven’t done is a full-blown comparison to my X-E2 with respect to image quality. Suffice to say for now that my impressions are that it is as good, or better, in essentially every way. The increased megapixels have had no negative impact, and only contribute to its overall image quality.

This is also very true of raw files processed through the latest versions of Adobe's Creative Cloud Lightroom and Photoshop. With Adobe's tweaks to X-Trans sensor raw file processing, and the X-Pro2's increased resolution, I am actually finding quite acceptable results and generally don't feel the need to process images through a third party raw converter any more, converters like PhotoNinja or Iridient Developer. For a working pro that is using Fujifilm gear, shoots raw, and uses Adobe software, this can pay big dividends in productivity! Rest assured that the camera's JPEGs are still as good as ever.

Scattered throughout this review are some shots of the X-Pro2, side by side with my X-E2, so you can see how the controls have changed, the size differences etc. Apologies, but I had a very poor quality screen protector on the X-Pro2's rear LCD for those shots, and I've since then replaced it with a much nicer one. The full-resolution images, taken with the X-Pro2 in this review, were all raw files that were just processed through Lightroom CC.

Saturday, April 9, 2016

Bookmark and Share

Beau Photo / Fuji Guys Photo Walk - Coal Harbour


Last Saturday was an absolutely gorgeous day, perfect for another Fuji Photo walk! We had nearly 30 people attending our outing at Coal Harbour in Vancouver. What made the day memorable was warm sun, clear blue skies and lots of enthusiastic photographers, many already with Fujifilm gear, but a few with other systems who were hoping to try out Fuji X-system gear.

Beau Photo sponsored the event by, firstly, sending me (haha!), but also by providing two $150 rental coupons that people can use towards further testing of Fujifilm bodies and/or lenses. Everyone who attended received a Beau/Fuji ballpoint pen, a Fujifilm X-system T-Shirt and Fujifilm also provided a few more prizes, including a travel mug and a few X-T1 bodies... oh ahem, pardon me, they were USB sticks disguised as miniature X-T1 bodies. Still, very cool for all those who attended this free event!

Above is a link to a gallery of images I shot during the day with my X-Pro2, with large 4000 pixel wide files available to download, in order to better check out the excellent quality of Fujifilm's lenses. All photos were processed fully in the latest version of Adobe Lightroom CC (2015.5 release with Camera Raw 9.5). I have found that the latest Adobe software is really working quite well with the higher megapixel sensor in the X-Pro2 and I suspect that only rarely, and mainly if making really large prints, would you see a substantial benefit from using a different raw converter like Photo Ninja or Iridient Developer. I will explore this a little more in the full X-Pro2 review I'm working on, one that, for a variety of reasons, is taking longer than anticipated...

Tuesday, March 1, 2016

Bookmark and Share

Fujifilm X-Pro2 - First Tests...


Gallery (45 images): Fujifilm X-Pro2 - First Tests...

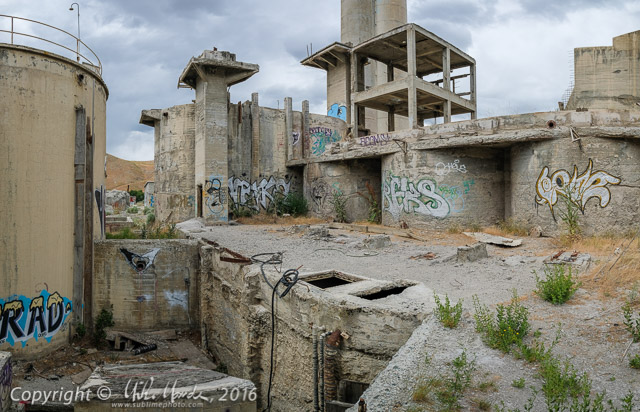
These are the first photos I have shot with a production Fujifilm X-Pro2, one that was kindly loaned to me by a local Fujifilm rep for a few days. In the near future, time permitting, I will be publishing more images and will write a followup review to my previous posting about briefly testing a preproduction model, once I have a chance to work my very own X-Pro2 body in detail.

The above linked gallery contains numerous shots using the camera's new ACROS black&white film simulation mode. Those photos were raw files actually, rendered in Adobe Lightroom CC, and not camera JPEGs, but Lightroom's new ACROS calibration preset for the X-Pro2 seems to mimic the camera's ACROS JPEG files quite faithfully.

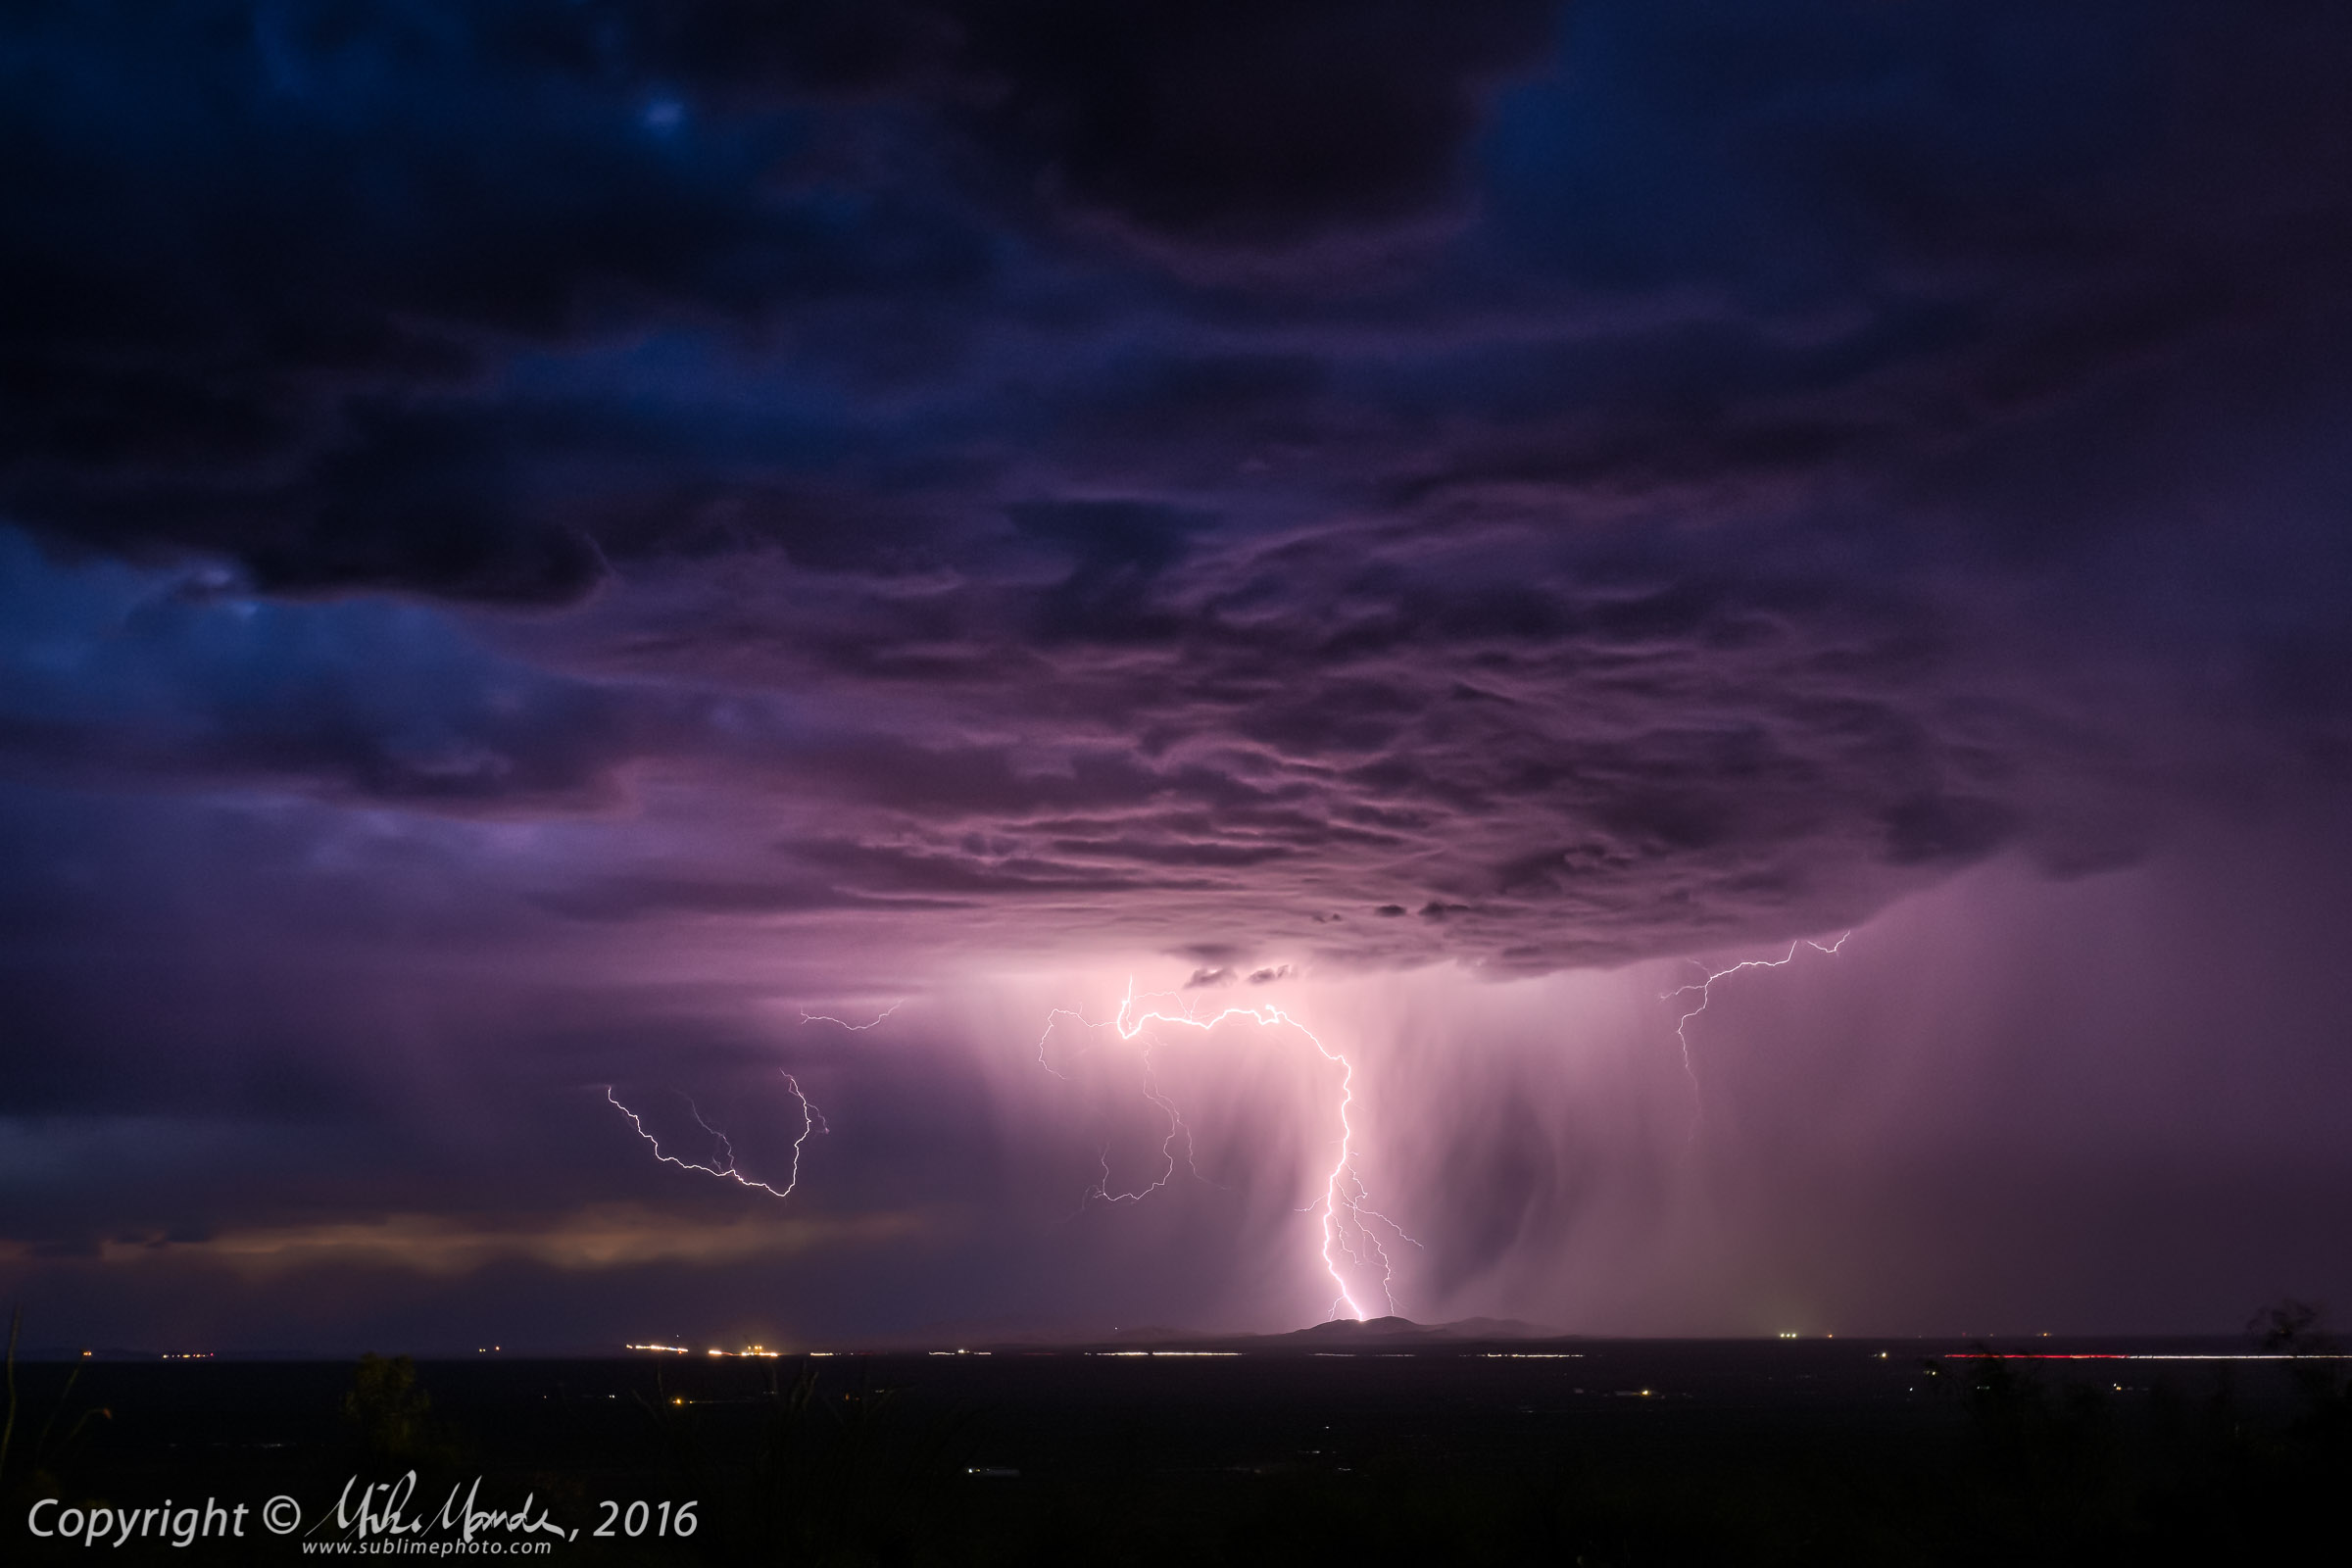
Note that some night shots may show three or four bright "hot pixels", but after I applied the X-Pro2's new "Pixel Mapping" function, those visible hot pixels were no longer seen in subsequent shots. My latest X-E2 body has also developed one bright hot pixel since I got it, but alas there is no pixel mapping option on it to get rid of it.

Basically, "Pixel Mapping" is when the camera takes a photo with the shutter closed, then analyzes the resulting image to see if there are any out-of-spec pixels that are not black. The camera then updates its internal sensor calibration map, so that those hot pixels register a black that's equal to the other surrounding ones, thereby ridding future shots of those annoying bright specks. Note that those bright specks are quite different from regular high ISO noise. This Pixel Mapping feature is fairly rare in digital cameras, mainly seen on some Micro-4/3 bodies from Panasonic and Olympus, but it is certainly a welcome addition to the X-Pro2's feature set.

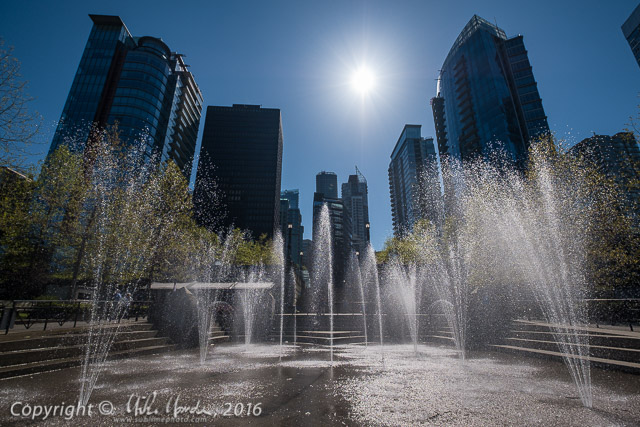
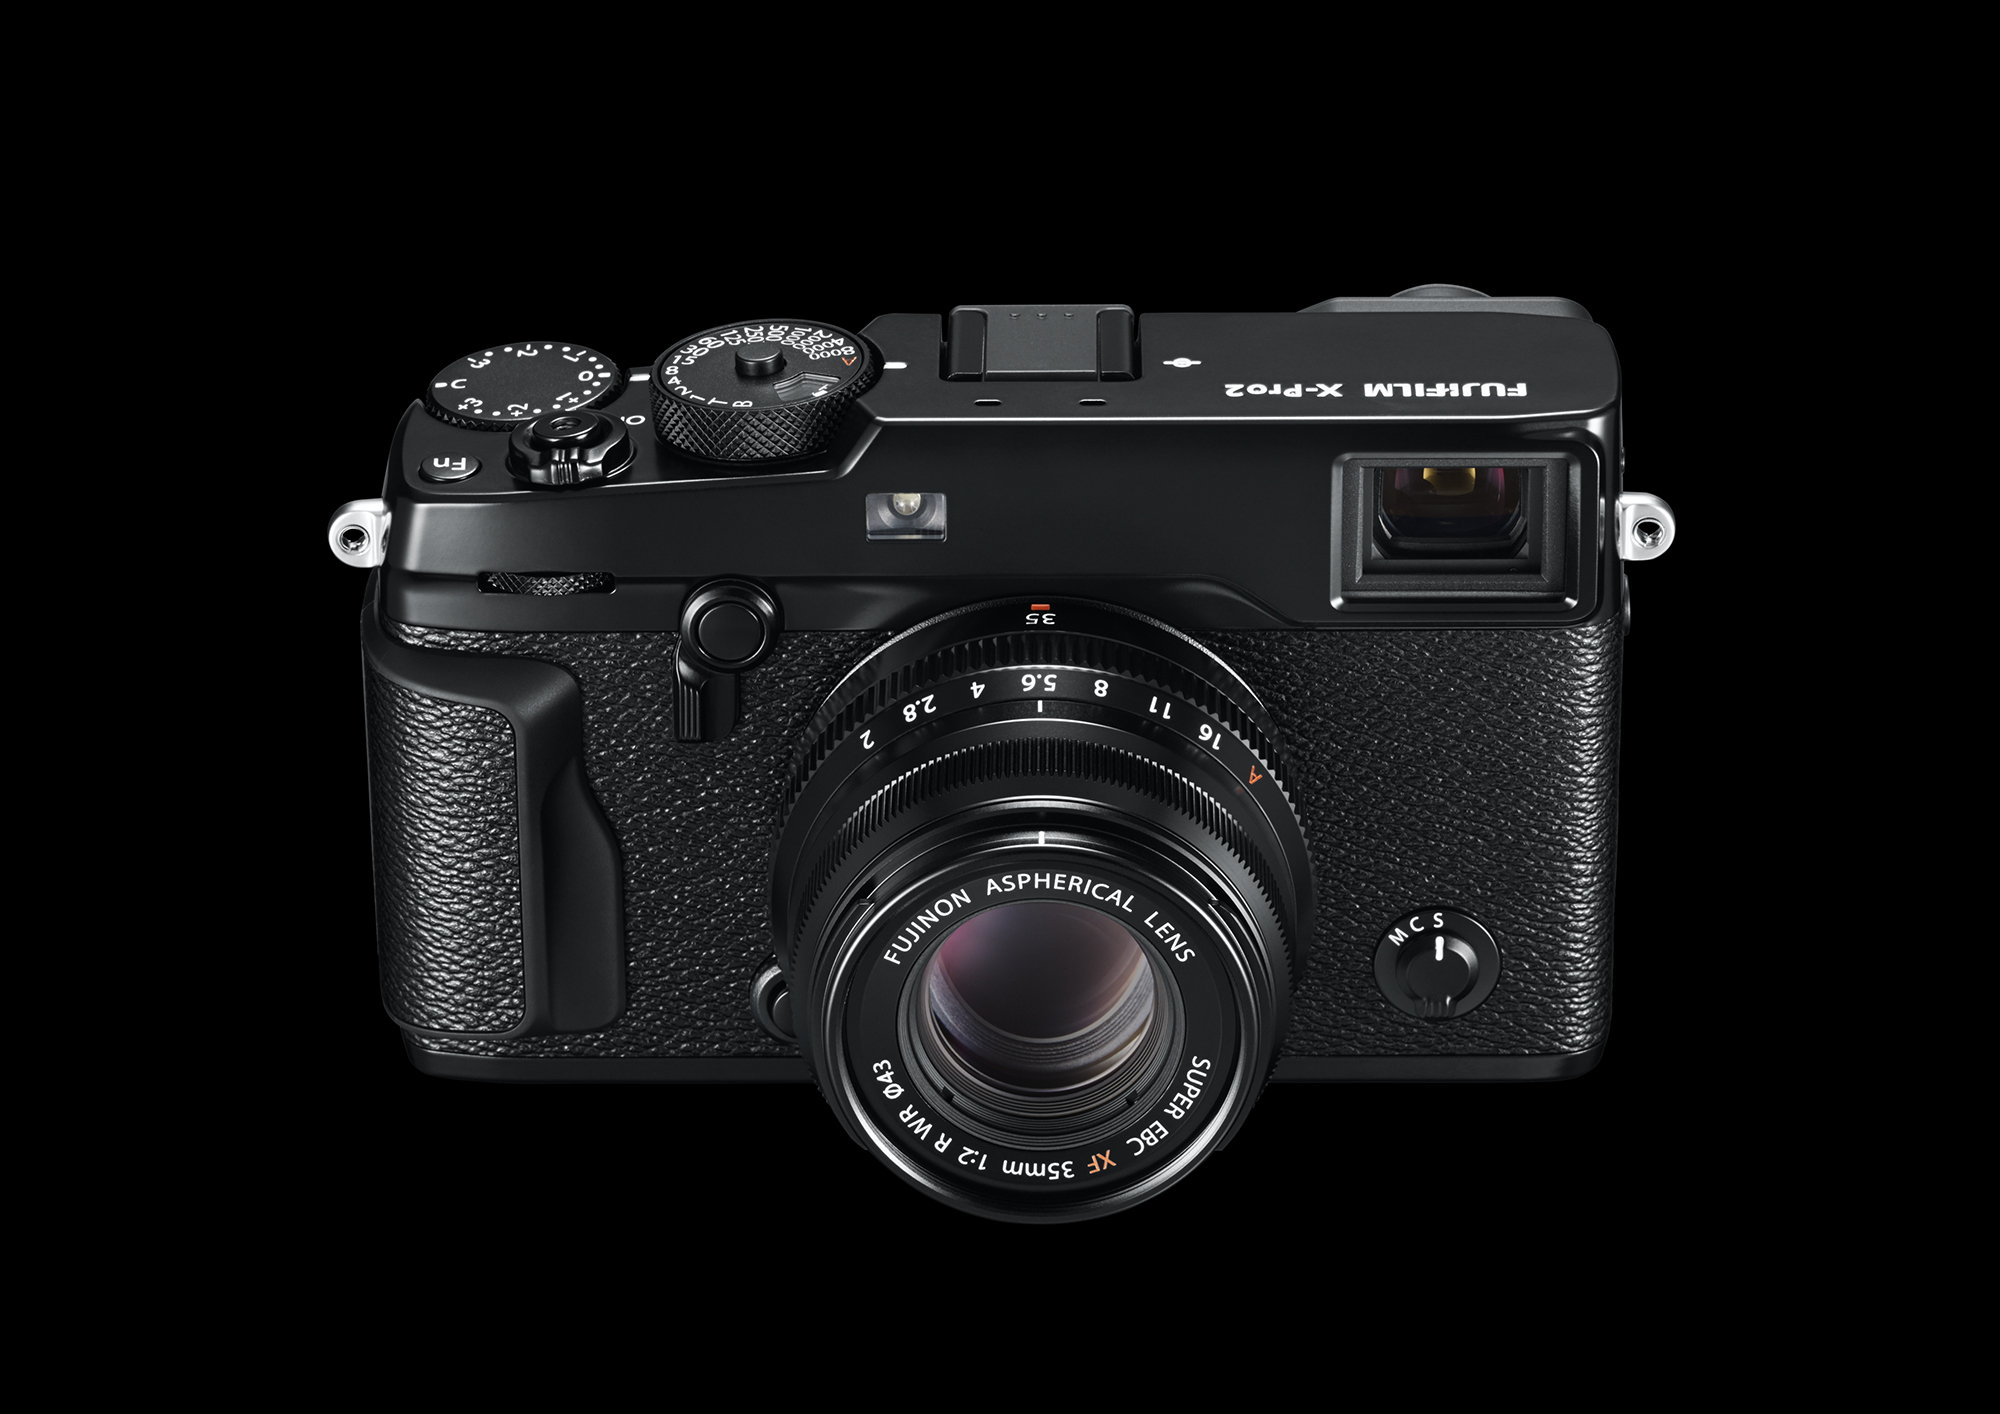
Very briefly though, the camera is most impressive! When compared to my X-E2 body, the improvements in the AF system, shutter responsiveness and overall body ergonomics are very noticeable, quite dramatic really. The Fujifilm XF lenses that I've tried so far, namely the 16mm f/1.4, 23mm f/1.4, 35mm f/2 and 90mm f/2, have all continued to perform spectacularly well, even with a bump to 24MP from the older X-E2's 16MP sensor. Fujifilm's gorgeous colour rendition is still there with the new sensor as well. More to come...

Sunday, February 21, 2016

Bookmark and Share

Gallery: Death Valley National Park, CA - Day 6 / 2010


Day 6 of my California trip was spent first Rhyolite, Nevada and then in Death Valley. The weather clouded up in the afternoon, which put a damper on my photography. However despite the grey skies, I shot a fair bit in Mosaic Canyon, fascinated by the highly eroded canyon walls. Sunset was at the ghost town of Skidoo, where I photographed the old rusted car above...

All posts from this trip: California 2010

Sunday, February 7, 2016

Bookmark and Share

Gallery: Joshua Tree National Park, CA - Day 5 / 2010


Gallery (70 images): California 2010 / Day 5

A second day in Joshua Tree National Park, March of 2010. I love photographing the long planar layers of rock that run through the park in spots, like in the above photo. Colourful cacti and more fascinating rock formations abound in the Day 5 gallery...

All posts from this trip: California 2010

Thursday, January 14, 2016

Bookmark and Share

NEW! Hands-on with the X-Pro2


A slew of big announcements from Fujifilm marks this day! A Fujifilm rep was kind enough to lend me a preproduction X-Pro2, an X70 and the new 100-400 zoom a short while ago, just so I could prepare a bit of a hands-on preview in time for the official announcement. Please note that the camera I tested definitely had beta firmware, and I did notice the occasional typo. I also cannot be sure how the camera's performance will change, or what features might still be added, once the final firmware is out. I will publish some more hands-on impressions of how it is to shoot with, once I get my hands on a production camera for a while.


So, now to the X-Pro2… finally! Many have been waiting for an upgrade to Fujifilm's first interchangeable lens X-system camera, and soon the wait will be over. The X-Pro2 improves on its predecessor in pretty much every way. First off, rest assured that Fujifilm's superb Hybrid-VF is still present, and it has been upgraded to offer an optional zoomed EVF focus preview in its lower right corner, even when in OVF mode, just like its cousin, the X00T.
Bookmark and Share

NEW! Fujifilm XF100-400mm zoom, X-E2s and X70...


Along with the X-Pro2 announcement, Fujifilm has announced a slew of other products, including the highly anticipated XF 100-400mm f/4.5-5.6R LM OIS WR zoom. Above is a photo of the preproduction X-Pro2 on the new zoom and as you can tell, it isn't exactly a svelte lens! Thankfully, it isn't quite as heavy as it looks, but you sure wouldn't be lugging this around for casual shooting. Carrying this lens will mean you are going to be wielding it with purpose, motor-sports, wildlife, birding etc.

Since the lens was preproduction and I had very little time with it, I am unable to comment on its image quality. That said, I did do a few indoor handheld shots at between 1/10 and 1/15 second, and even wide open at 400mm (a 600mm equivalent), they were mostly tack sharp. The 5-stops of image stabilization that Fujifilm is claiming certainly does not seem exaggerated. It features a weather-resistant design, has fast focusing, a lens hood with a built-in, sliding polarizer adjusting door, a tripod foot and apart from all the usual controls, also has a focus limiter switch. Here is a comparison, hoods off, to the largest of Fujifilm's other tele zooms, with the new big gun on the left, the the XF 40-150mm f/2.8 zoom in the middle, and on the right, the XF 55-200mm…

Friday, January 1, 2016

Bookmark and Share

Happy New Year! Last photos of 2015...


Happy New Year to all! The shots in the above gallery are my last photos of 2015, taken while walking home from work along False Creek. All the best for 2016!