Sunday, October 20, 2019

Bookmark and Share

Gallery: 2019 Grand Canyon Trip - Painted Desert


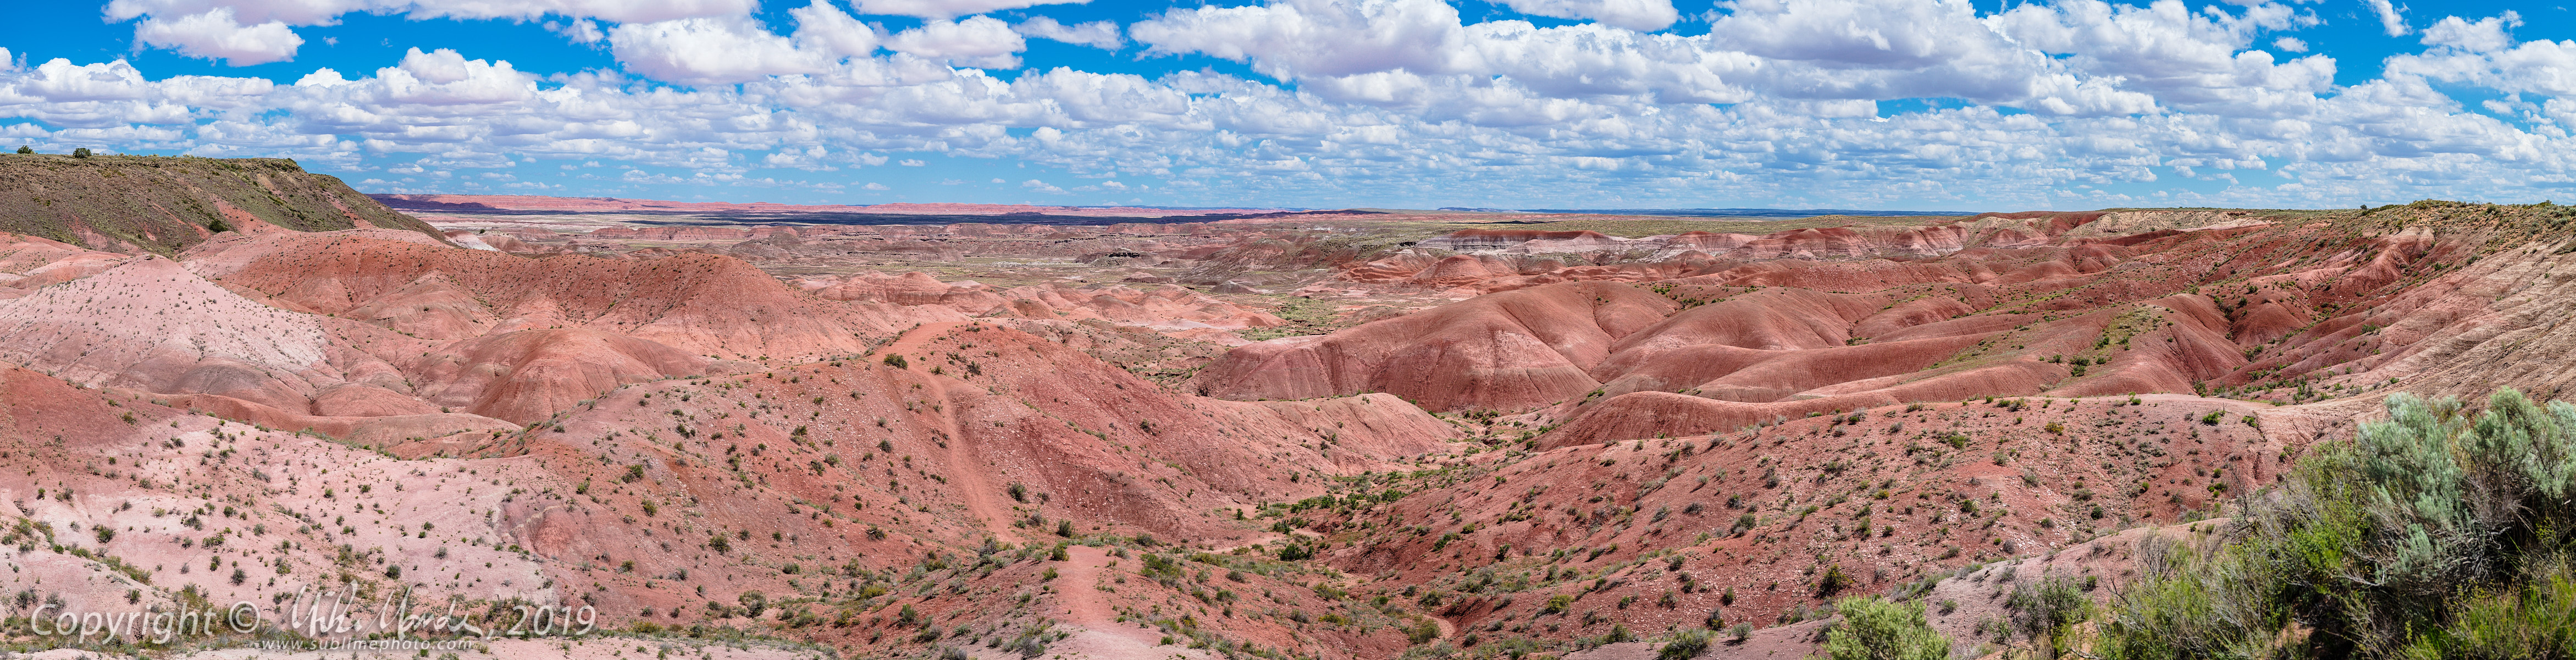
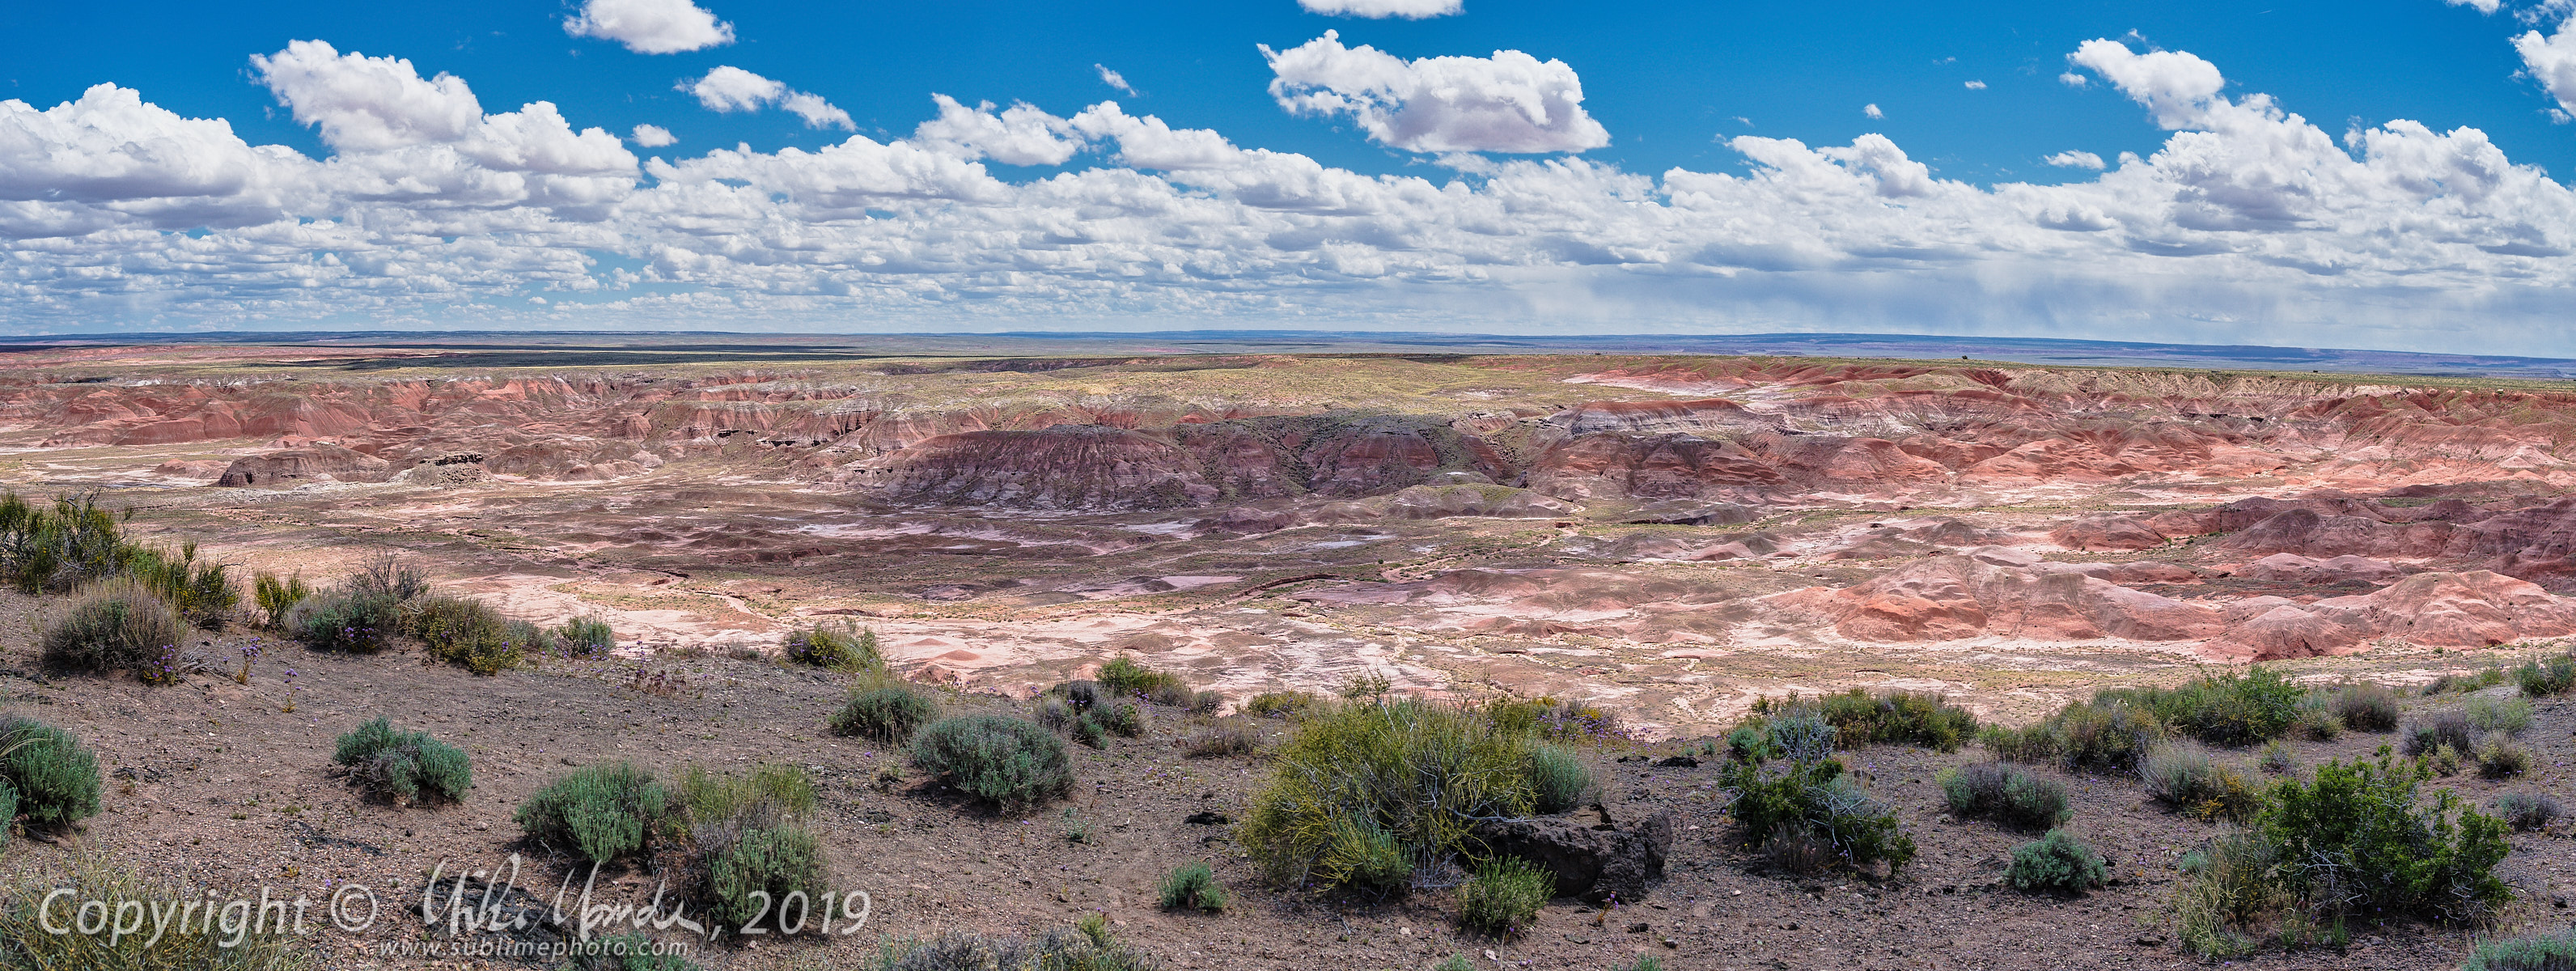
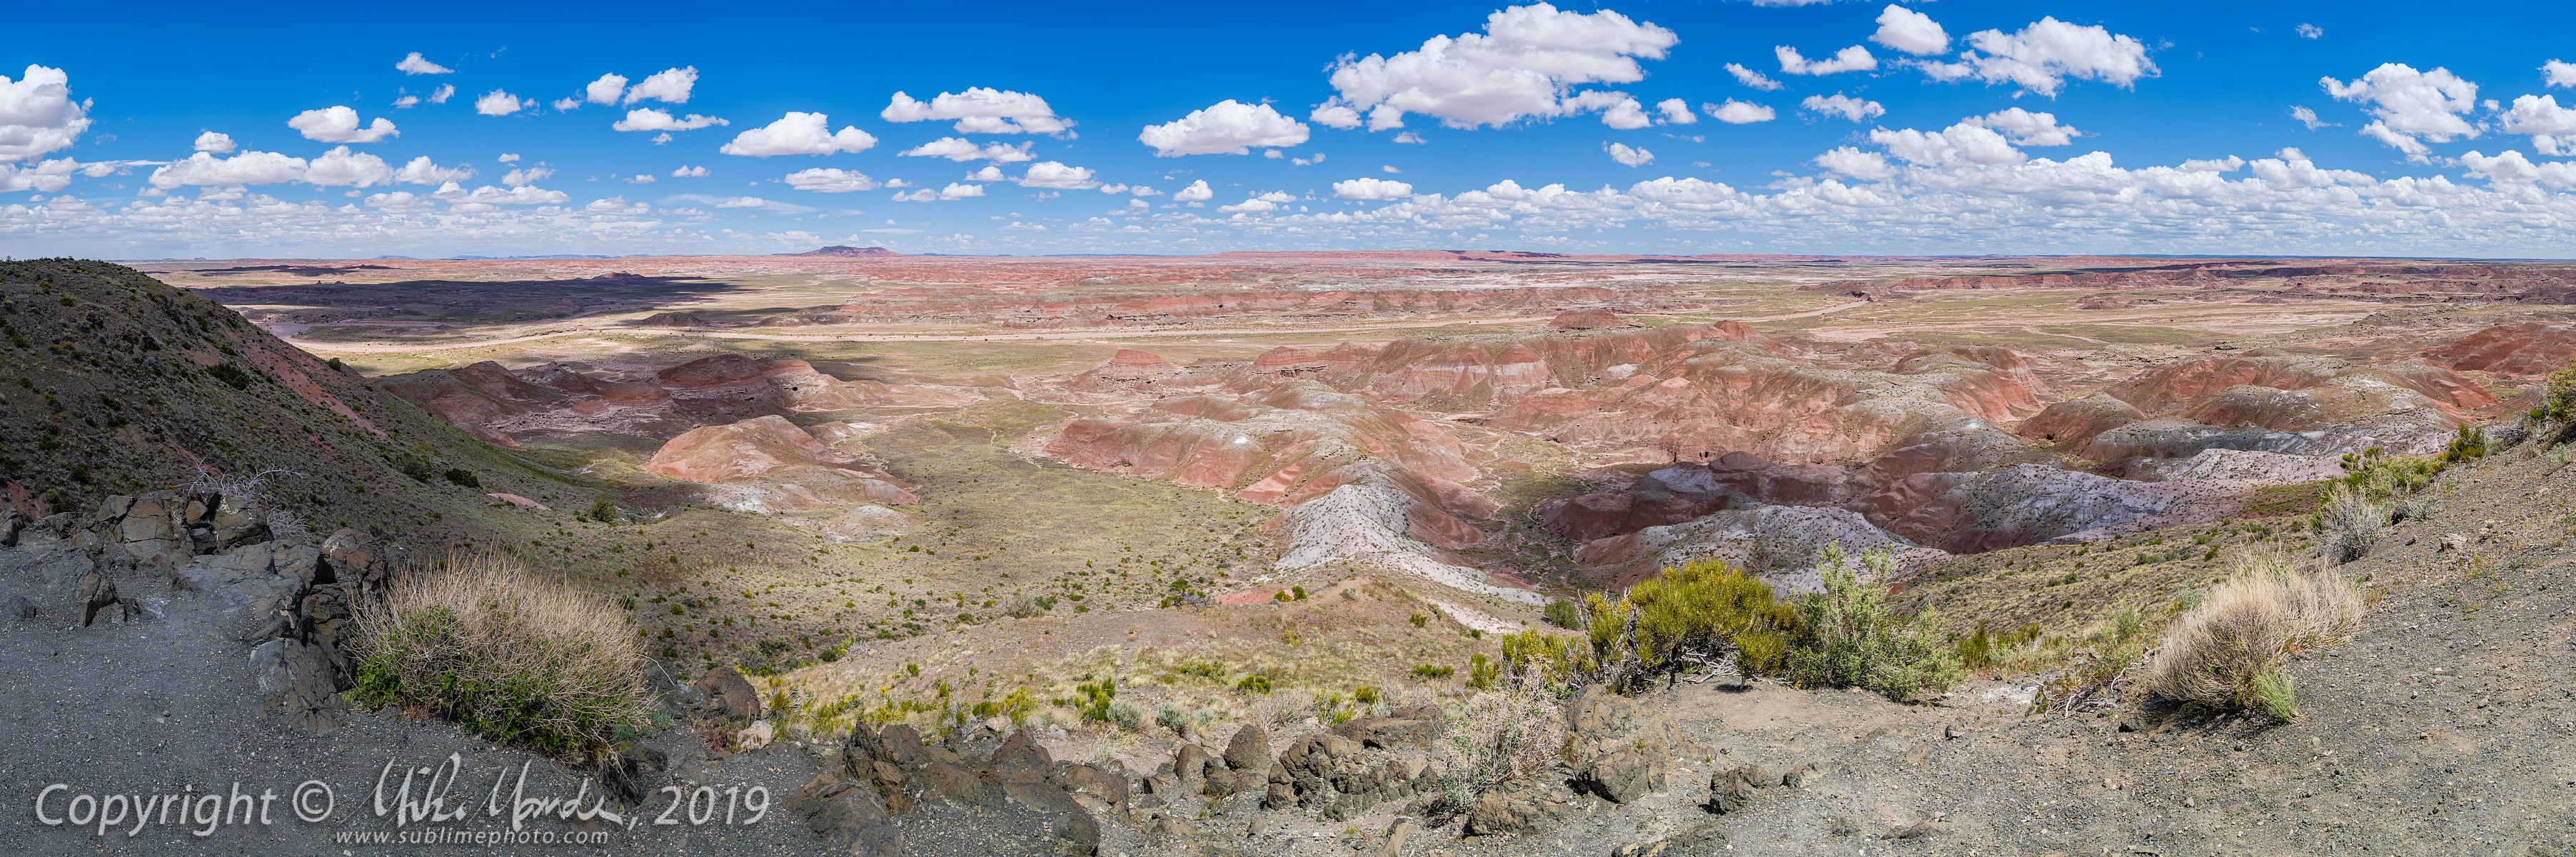
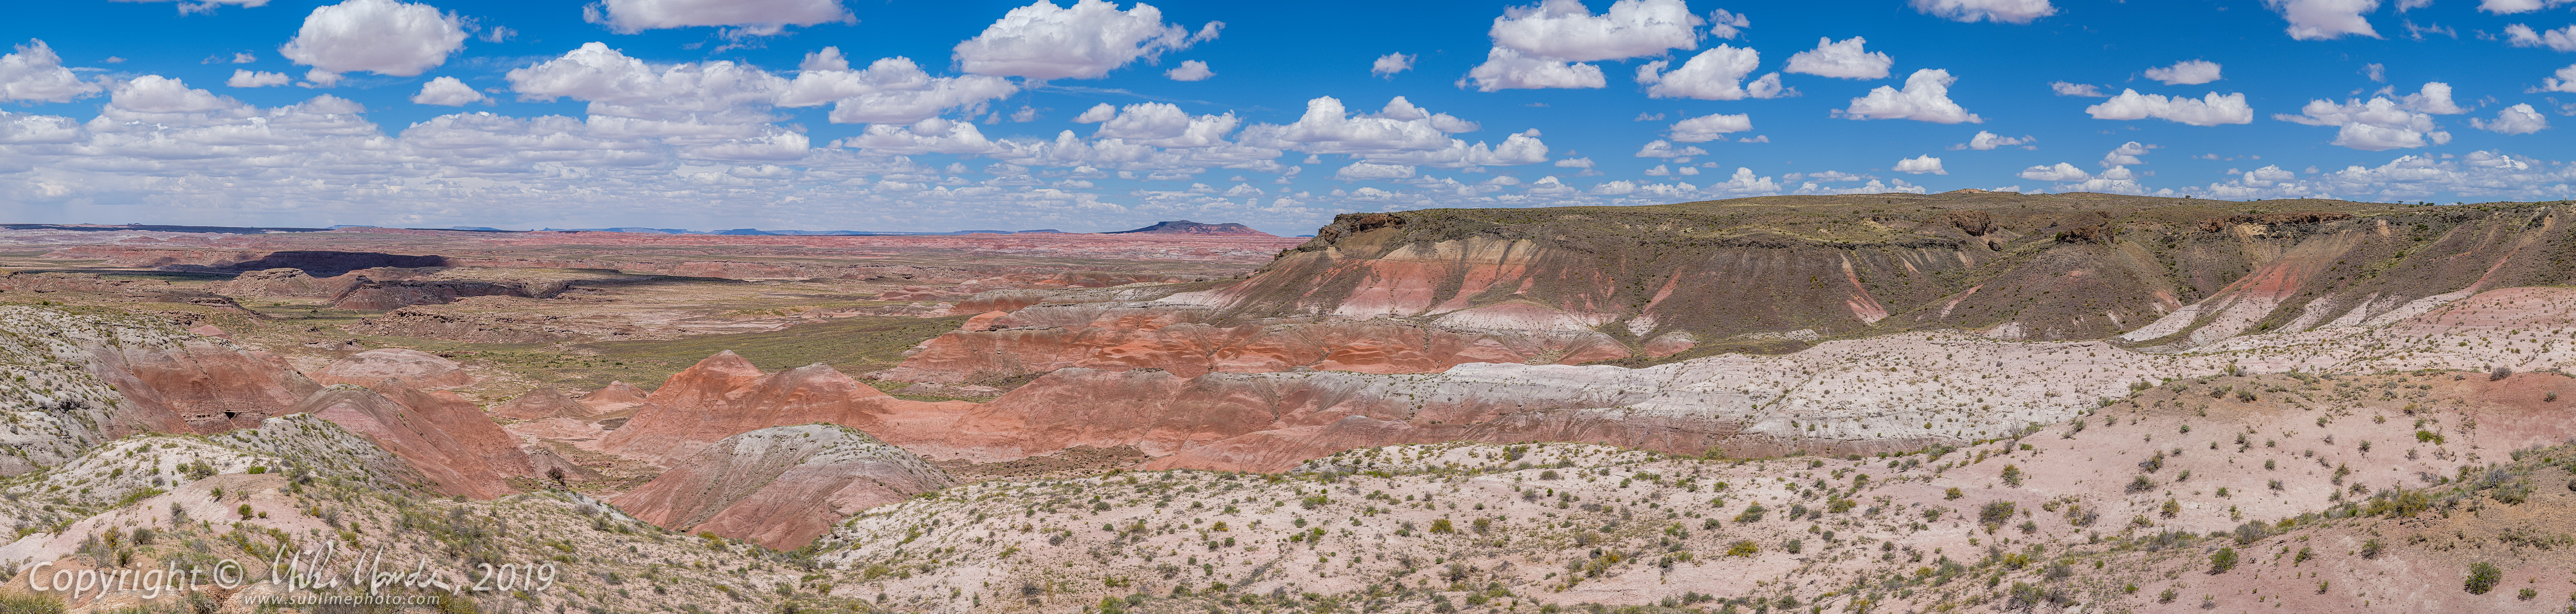
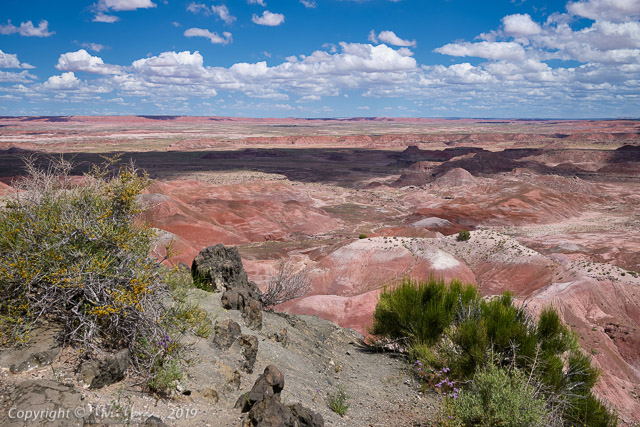
On the the way from Los Alamos to our ultimate destination, the Grand Canyon, we had one more stop to make at the Petrified Forest National Park. We did the drive from the north part of the park to the south, and got lots of wonderful clouds floating over the amazing Painted Desert scenery there. The desert is so richly colourful, that on some shots you can actually see the closer clouds reflecting the deep red, giving them slightly pink undersides.

Unfortunately, once we got to the south end of the park, where all the amazingly colourful petrified logs were, the sky had become total overcast, story and windy and starting to rain. So, unfortunately, apart from a few quick iPhone snapshots I took, running up to a viewpoint quickly to check the weather on the horizon (it wasn't good), I did not get any shots there this time around. Note that the petrified log and fragments that you'll see in the above linked gallery are nowhere near as brilliantly colourful as the agatized logs in the south end of the park.

Link to: All the blog posts from my 2019 Grand Canyon Trip

The expansive landscape in the area just begged for panoramic shots, and I did numerous stitches that turned out to be rather wide, too wide for the regular gallery in my opinion, so you can view them below. Clicking on the image will open a much larger version in a new window or tab, 1200 pixels tall by however wide they end up being.

These panos were solely processed in Adobe Lightroom, apart from downsizing in Capture One, with the original raw files being run through Adobe's new "Enhanced Details" demosaic process first, before being stitched into a panorama. This seemed to yield slightly better images with less stitching artifacts, when compared to using Capture One Pro to generate TIFF files and then going back and stitching those in Lightroom. In case you were wondering (and you probably weren't!), the 'E' in the filenames designate that I used this new Adobe feature before stitching the panoramas...


Wednesday, October 16, 2019

Bookmark and Share

Gallery: X-H1 Night Walk & Fall Colours

Gallery (60 images): X-H1 Night Walk & Fall Colours

Interrupting my posting of Grand Canyon trip images, the above gallery contains two sets of images taken on different days. The first is a walk home from work, along False Creek and through the Olympic Village by Science World. I was shooting with my Fujifilm X-H1 and XF 23mm f/1.4 lens. All the shots were handheld, taking advantage of the X-H1's in-body sensor-shift image-stabilization (IBIS), which can be effective down to as long as a 1 second exposure with something like that 23mm lens. Mind you, reliable 1 second long handheld exposures are still not easy, even with the X-H1's IBIS, but I found a pretty decent hit rate for sharp 1/2 second exposures, and shorter of course. The freedom and speed of shooting that not needing a tripod brings is liberating!

Of course, being completely dark out, I still needed to use ISO 1600 since I also wanted a bit of depth-of-field, deciding to shoot most images at f/4. Had I used a tripod at ISO 200, of course the noise levels would have been less, and the dynamic range and overall image quality would have been better. However, I usually don't decide to walk to work with a tripod, unless I have preplanned a shoot and this was not planned. In short, X-H1 still made it possible to capture rather decent cityscape images in complete darkness, even without a tripod.

Lastly, note that all the images are geotagged, but the X-H1 shots were not tagged in post like I normally do. Instead, I utilized the X-H1's auto-reconnecting Bluetooth interface to my iPhone, and it pulled my location from the phone for each shot. Note that to conserve the battery, I was constantly switching the camera on and off, and at the time I wasn't even concerned with geotagging so didn't give the camera any extra time to connect. In the end, every single shot on that walk home had location data, which is rather convenient!

On my recent trip to Oregon and Idaho, I did use my Garmin Fenix 5 Plus watch to record tracklogs, and then used Lightroom to geotag the images from the X-H1, since I usually didn't have the phone with me. This was the first time I noticed how surprisingly quick and reliable the phone-connection geotagging seems to be was. Cool. That said, some of the X-H1 geotag positions in the above gallery are off by a little more so than I would normally expect, for example, my Garmin to be but I'm not sure if that was due to natural variation in GPS accuracy, or the fact that sometimes I took a shot only a few seconds after flipping the camera on. Maybe if I had waited a little longer after powering up the camera, or just left the camera on between shots, the geotags would have been more accurate?

The second set of images in the gallery was from my X100F, on the evening I walked to the advance polls for the upcoming Canadian federal election. At the last minute, I decided to grab my Fujifilm X100F on the way out the door and I'm glad I did. Many leaves were already changing colour and with the low evening light, the colours and contrast popped!

Clicking on either above image leads to the same gallery, with the first 35 shots being from the nighttime walk with the X-H1, and the last 25 shots the fall colours with the X100F. As mentioned, the X-H1 shots were auto-geotagged but the second set of images from the X100F were tagged manually in Lightroom like I always do. All the images were ultimately processed in Capture One Pro though, not Lightroom. For those X-H1 shots, Lightroom would have yielded cleaner images with less high ISO grain (noise), but at the expense of detail and sharpness in many of the darker areas of the images. Personally, I do prefer the slightly grainier but more detailed images...

Sunday, October 13, 2019

Bookmark and Share

Gallery: 2019 Grand Canyon Trip - Los Alamos


For the first part of the day, my dad wasn't feeling well after a night of sleeping poorly, and stayed in the hotel while I went out and wandered around Los Alamos for a few hours. I visited several buildings belonging to the Los Alamos History Museum, and took a number of shots around the scenic Ashley Pond Park, as well as other historic sites in the city.

Later in the day, my father mustered the energy to visit the very interesting Bradbury Science Museum with me. My Laowa 9mm lens came in handy to add some wide dramatic perspective to some of the museum's displays, even when the space was tight. Afterwards, I had been looking forward to driving to Bandelier National Monument, which features a large number of fascinating cliff dwellings and other ruins, but after the museum, my dad had enough for that day and just wanted to rest and relax in the evening.

Link to: All the blog posts from my 2019 Grand Canyon Trip

Saturday, October 12, 2019

Bookmark and Share

Gallery: 2019 Grand Canyon Trip - VLA & Bosque del Apache


After a day of travel with no photography, just driving across central Arizona and making time, we arrived at the Very Large Array (VLA) radio telescope facility in New Mexico in the evening. The interesting thing about the VLA is that there are many radio dishes arrayed along three sets of twinned railway tracks that radiate outward in a "Y" shape. The dishes can be moved along these tracks and repositioned to either be close together near the centre, or much further apart across the entire valley, depending on the scientists' needs. The tracks are each about 21 kilometres in length, allowing for huge flexibility in positioning the individual dishes.

In the above photo, you can see one of the rail transport vehicles that helps move the dishes, with one showing in the assembly and maintenance building in the background. It might be a bit hard to tell the scale, but the individual radio dishes are actually quite large, being 25 meters in diameter and each weighing over 200 metric tons!

The following day, before making our way up to Los Alamos, we stopped by the Bosque Del Apache Wildlife Preserve and walked around a little, observing many different birds... and one turtle as well. During past visits, I saw many more turtles basking in the sun, but I only glimpsed a single one that day...

Link to: All the blog posts from my 2019 Grand Canyon Trip

Wednesday, October 9, 2019

Bookmark and Share

Gallery: 2019 Grand Canyon Trip - Death Valley


After spending some time in Rhyolite in the morning, as per the previous gallery, my dad and I made our way into Death Valley... the long way around via a scenic route: Titus Canyon. The road to Titus Canyon, which is strictly one way, branches off from the main highway just west of Rhyolite. After driving through a relatively flat area where there were lots of blooming wildflowers and some cacti, the road started winding around through some colourful scenery, and slowly the canyon got narrower and narrower. On previous trips through Titus Canyon, I never really documented the drive much, so this time I made sure to take lots of photos of my Outback in the canyon, so one can see how tight it really gets!

After exiting Titus Canyon and having an early dinner in Furnace Creek, we made our way south to Badwater, the lowest point in Death Valley, indeed the lowest in North America, at roughly 280 feet below sea-level. One shot in the linked gallery shows a sea-level sign way up the side of a mountain.

After Badwater, we made our way back north, towards our hotel in Beatty Nevada, but looped through the Artist's Palette drive, an area with vividly coloured sandstone and soil.

Link to: All the blog posts from my 2019 Grand Canyon Trip

Sunday, October 6, 2019

Bookmark and Share

Gallery: 2019 Grand Canyon Trip - Rhyolite, Nevada


The first thing my father and I did on the morning after arriving in the Death Valley area, was to visit Rhyolite, a crumbling ghost town in Nevada near the California border. Over the years that I've visited Rhyolite, I've seen a progression of newly collapsed walls and structures, with many once accessible buildings now fenced off due to safety concerns.

Thankfully, my father was very patient and gave me time to really photograph Rhyolite during this visit, and I took lots of detail shots, as well as expansive shots with my ultra-wide Laowa 9mm lens. Having such a wide lens was very helpful in fully capturing some of the buildings despite needing to be very close-up, with the camera right over the fence surrounding the building, in order to avoid having those same fences appear in the foreground of the photos. Other times, the 9mm simply added a sense of drama and perspective, as in the above photo.

Link to: All the blog posts from my 2019 Grand Canyon Trip

Saturday, October 5, 2019

Bookmark and Share

Gallery: 2019 Grand Canyon Trip - Days 1-3


Gallery (20 images): 2019 Grand Canyon Trip - Days 1-3

Back in late April, my father and I had left on a lengthy road-trip to the US Southwest in my new, 2019 Subaru Outback 3.6R. Our ultimate goal was to see the Grand Canyon, since he had been there with my mom many years ago, but the views had been nonexistent, with the canyon totally socked in with clouds. This time, we were hoping to find better weather there and the spectacular views the Grand Canyon is known for!

The above linked gallery has some shots from the first three days of travel south, on the way to our first major destination on the trip, Death Valley National Park in California.


During the 22 day, 9300 km road-trip, we wound our way through Washington, Oregon, California, Arizona, New Mexico, Utah and Nevada. Here is a screenshot of our entire trip as recorded by my vehicle GPS...